Towards the end of 1st grade, I bought the history curriculum Story of the World for Daniel and I to go through. I liked that it started at the beginning of man and continues through history in chronological order...and it is in a less dry, more story form. When I got the curriculum, I began to eagerly look through it to see what we would be doing and was SHOCKED when I got to Egypt and found an activity for mummifying an actual chicken. It sounded fascinating and Daniel and I were over the moon with excitement over the project.
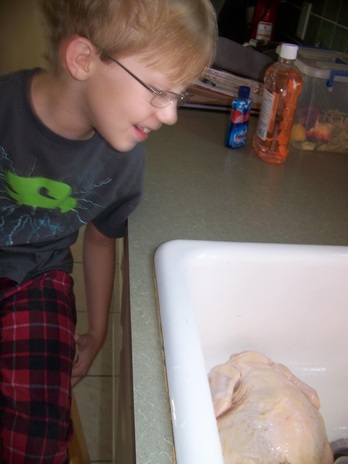
Well, this week we got to Egypt and mummies and this morning, we started the mummification of a chicken project. It is a six week long project so I will document everything along the way. Sadly, this morning I took lots of pictures of all that we were doing but when I uploaded them, some of them were lost. I am heartbroken about it.
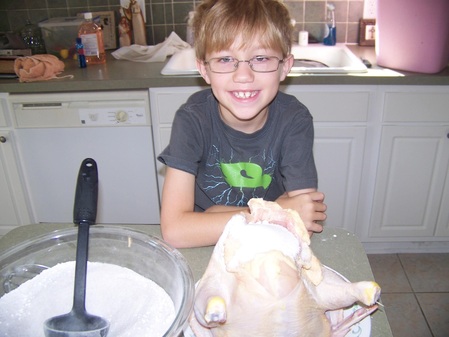
Funny thing...I figured this would be right up a boy's alley. Raw chicken!! Well, not my boy. He refused to touch it claiming it to be gross. I was flabbergasted. Now, I touch raw meat all the time when I cook, so I am used to it, but I never in a million years would have guessed that he would react so strongly.
Ok, so here's what we did:
Step one was to take the chicken and remove all the yucky stuff (heart, liver, kidney, neck, anything like that).
Well, this week we got to Egypt and mummies and this morning, we started the mummification of a chicken project. It is a six week long project so I will document everything along the way. Sadly, this morning I took lots of pictures of all that we were doing but when I uploaded them, some of them were lost. I am heartbroken about it.
Funny thing...I figured this would be right up a boy's alley. Raw chicken!! Well, not my boy. He refused to touch it claiming it to be gross. I was flabbergasted. Now, I touch raw meat all the time when I cook, so I am used to it, but I never in a million years would have guessed that he would react so strongly.
Ok, so here's what we did:
Step one was to take the chicken and remove all the yucky stuff (heart, liver, kidney, neck, anything like that).
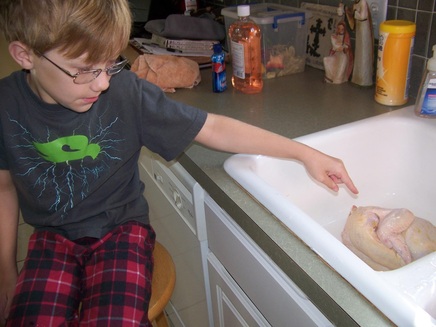
Next you wash the chicken thoroughly with hot water. Of course, I had to do this part...lol. Make sure you clean it inside and out. After washing the chicken, you will need to pat it dry with paper towels....I got Daniel to ALMOST do this, though he was just not willing to put much effort into it..even though there were paper towels in between his hands and the bird.

The next step is to clean it inside and out with rubbing alcohol (or wine as the Egyptians do it, but rubbing alcohol is MUCH cheaper)!! Pat dry again...trying to get all the moisture off. Yep, I had to do BOTH these steps as Daniel just couldn't stand the thought of touching the thing. GOOD GRIEF.
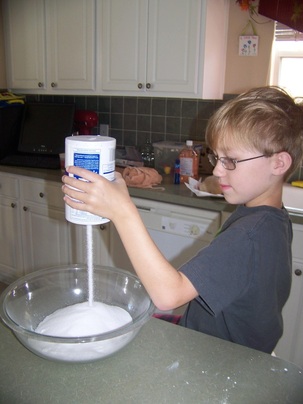
Next we mixed the salt mixture that will dry out the chicken. We used a half box of baking soda, a half can of baking powder and 2 containers of salt. It suggested adding some spices to make it smell better, so we added in some ground cloves and all-spice. Sadly most of these pics didn't make it.
Next we mixed the salt mixture that will dry out the chicken. We used a half box of baking soda, a half can of baking powder and 2 containers of salt. It suggested adding some spices to make it smell better, so we added in some ground cloves and all-spice. Sadly most of these pics didn't make it.
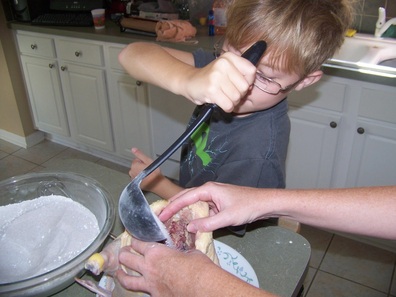
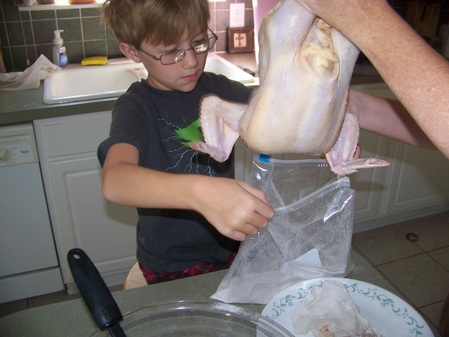
Next came time to treat the chicken. First part was filling the cavity with the salt mixture (that smelled great with the spices in it). I held the bird open while Daniel spooned in the salt mixture.
Next you pour some of the salt mixture into a freezer bag, put the chicken in the bag and begin adding the rest of the salt mixture...making sure the whole chicken gets covered in the salt. Seal the freezer bag and than put into another freezer bag and seal.
So, of course I lost all the pics of the sealed up bird, but that is it. Tomorrow, we will check the chicken out and make sure the salt is dry and not wet and clumpy at which point we have to re-salt the bird. It will be a lot of observation over the next several weeks as well as some re-salting. Stay tuned for further updates!
*And I will likely use my iphone for pics from now on!
*And I will likely use my iphone for pics from now on!

 RSS Feed